Showing posts with label motorcycle. Show all posts
Showing posts with label motorcycle. Show all posts
Tuesday, December 7, 2010
Sonny Barger's "Let's Ride"
I just finished reading this book. It's a great book for anyone new or thinking about motorcycling and a good read for even the advanced riders. Sonny Barger, one of the founders of the Hell's Angels M/C, writes about everything from what to look for when buying a new bike, beginner and advance riding techniques and even tips on joining a motorcycle club. This was the first book by Barger that I've read and I'm looking forward to reading more of his books.


Friday, October 15, 2010
Painted the frame
Since I had the bike pretty much torn apart I decided to paint the frame. I chose to go with Dupli-Color "Graphite". it was close to the stock frame color but a little more silver/grey. I'm really happy with the way it came out. I also got a set of stock dog bones from a guy on the FZ1 forum and raised the bike back up to stock height in the rear. This weekend I'm going to try and get the front raised back up to stock as well.
Here are pics of the frame paint:


Here are pics of the frame paint:


Monday, October 4, 2010
Bike is done for the season...
I've been having a gas leak problem on the bike so I finally decided to put the bike away for winter already and start pulling it apart. Got the carb bank off and found that ALL 4 carbs had cracked float bowls to to over tightening of the drain bolt. The #3 bolt was in so tight I can't get it out and the #4 bowl had silicone in it to try and seal the cracks. WTF?! Of course the bowls are like the only part on the bike that you can no longer buy so it looks like this winter I'll be trying to find either new bowls or new carbs.
Thursday, September 23, 2010
FZ1 "Project"
Not really a project but here is a list of things I've done to the FZ1 so far and some plans to come:
- Wired the rear brake light to act as tail, brake, and turn signals
- Got a set of bar end mirrors
- Added a Fiamm Highwayblaster horn
- Fixed the throttle from sticking
- Have a new clutch lever and perch coming, the stock one was loose
- Have a set of Driven grips on the way
- Have a set of LED front turn signals coming
- I plan to rip out the emissions junk and while I have the radiator off I'll change the plugs
- I might do a new handlebar or repaint the current one, if so I'll do it before I do the grips
- New brake lever
Carbon Fiber Is For Strength And Weight Reducion
A little ranting...
I sort of thought that the carbon fiber fad was dying, until I was reading a motorcycle forum today. One guy is using stick on vinyl carbon fiber looking decals over a bunch of parts and another guy is applying real carbon fiber over his fuel tank and other various parts. I could see if you were actually replacing your stock parts with pure carbon fiber parts and was doing it for weight reduction. But these posers that use it just for looks drive me nuts. Ok, sure, it used to be cool to see carbon fiber parts years ago because they where expensive and rare. Then you had every kid in a Dodge Neon and Honda Civic getting junky carbon fiber hoods off eBay for $300 shipped and the rest of them buying rolls of carbon fiber decals. And I'm willing to bet less than 1% of those ever TRULY got the hoods for weight reduction. Now it's not even "cool" to see a REAL carbon fiber parts on a car or bike so why are people still doing the fake thing?
I sort of thought that the carbon fiber fad was dying, until I was reading a motorcycle forum today. One guy is using stick on vinyl carbon fiber looking decals over a bunch of parts and another guy is applying real carbon fiber over his fuel tank and other various parts. I could see if you were actually replacing your stock parts with pure carbon fiber parts and was doing it for weight reduction. But these posers that use it just for looks drive me nuts. Ok, sure, it used to be cool to see carbon fiber parts years ago because they where expensive and rare. Then you had every kid in a Dodge Neon and Honda Civic getting junky carbon fiber hoods off eBay for $300 shipped and the rest of them buying rolls of carbon fiber decals. And I'm willing to bet less than 1% of those ever TRULY got the hoods for weight reduction. Now it's not even "cool" to see a REAL carbon fiber parts on a car or bike so why are people still doing the fake thing?
Tuesday, August 31, 2010
The guy was not a flake!
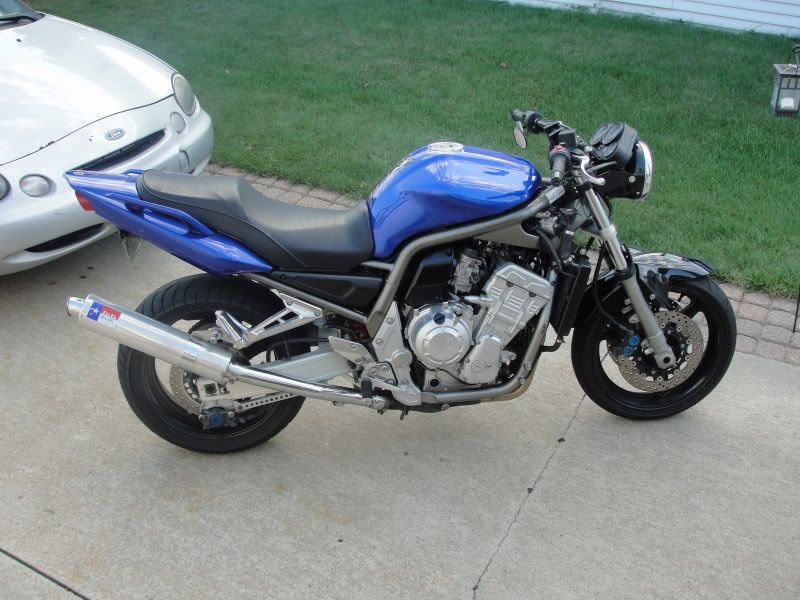
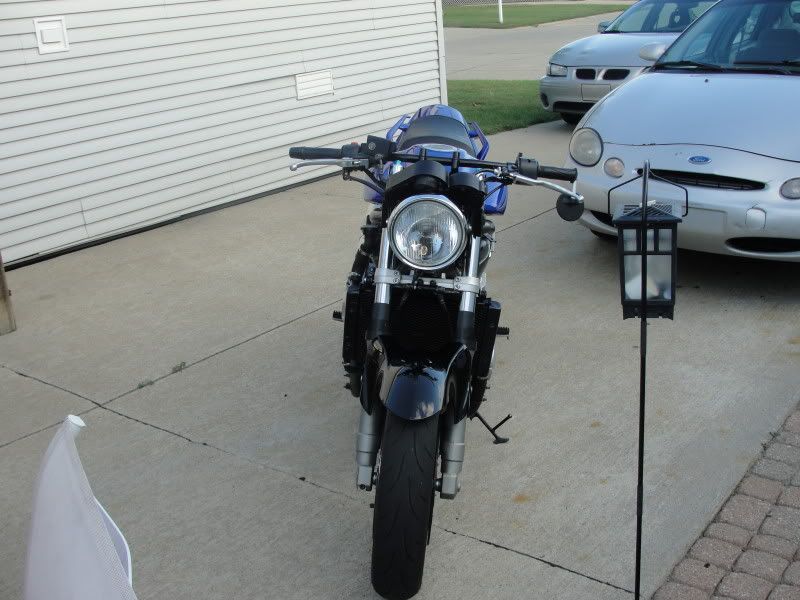
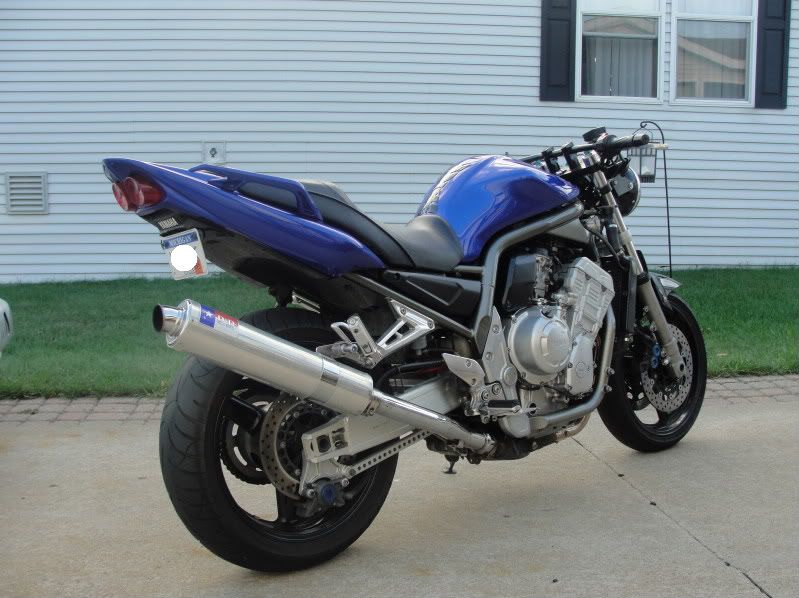
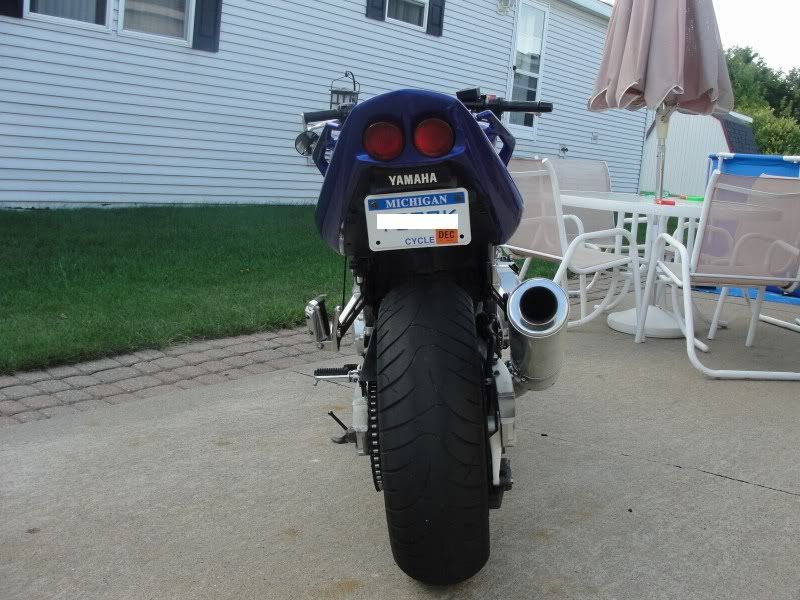
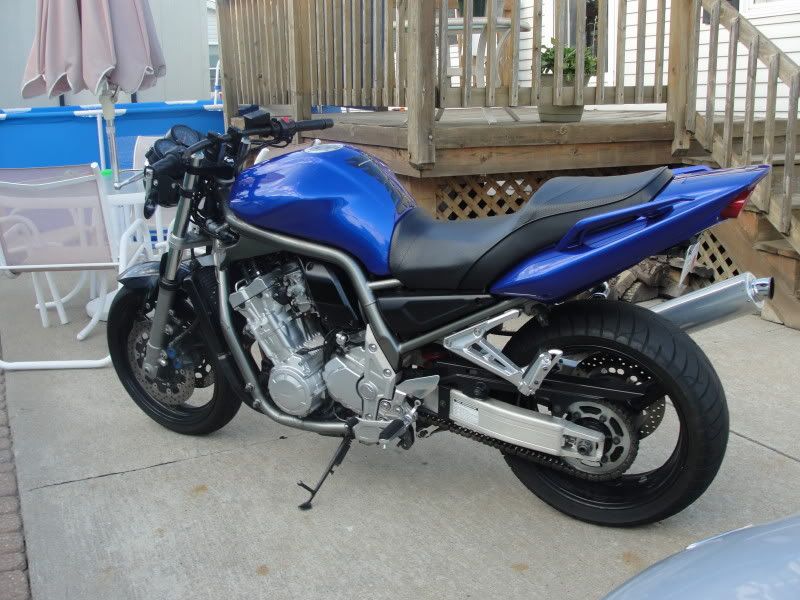
Hahaha! The guy I traded bikes with ended up riding his FZ1 an hour down to me last night. Very nice guy and I love the new FZ1 so far. I won't be able to really take it out until this weekend after it's registered though. :( I've never really been attached to a bike but I will admit it was sort of sad seeing the Vulcan driving off. I always knew it was loud but never really how loud until we listened to the new owner riding off for blocks. LOL Well, here is the new bike, 2001 Yamaha FZ1.


Thursday, August 26, 2010
Possibly a new bike coming...
After putting in all of the work into my Vulcan and getting it to where I wanted it, it makes sense to get rid of it and get something else right? Seems to be my pattern anyway. I think I've liked working on bikes more than riding them but now I'm getting to the point where I just want to ride and not have something that I feel the need to modify year round. My goal was to sell my bike and use the money to build an early 70's Honda chopper for a winter project. But a guy emailed me this week that got me thinking in a totally new direction. He offered to trade me for his 2001 Yamaha FZ1. I almost said "no thanks" but after thinking about it and reading up on the FZ1 I think it'd be a perfect bike for me. He's done some modding to it already and I don't see myself doing much more to it. It'll be a bike I can walk past in the garage and say, "I'm going for a ride!", instead of "What can I do to the bike next?" I love projects but sometimes the bikes end up being in constant project mode. So, I'm really hoping this guy does not flake out on me and hopefully the exchange happens this weekend. I've never been on a FZ1 but I can't find a single bad review on it so I'm excited to get on it. If I hate it I'll sell it come Spring and be back to square one.
But what to do this winter when I'm stuck in the house? I think I'm going to try my hand at building custom handlebars. I was going to build a set of ape hangers for the Kawasaki this winter but instead I might just start tinkering with building some generic bars and see how they turn out. Who knows, maybe I can end up selling them and having a little side business.
To be continued....
Thursday, April 22, 2010
I need a helmet or jacket to match my bike...
These people crack me up when they are more interested in finding a helmet or jacket to match the color of their bike over a helmet or jacket that offers any function. I had a yellow and black helmet for years and never had a yellow and black bike. But here is a little tip...If you REALLY want to have gear that matches the bike you ride.....Buy a Harley! You'll be in heaven! You'll be able to get "riding" gear everywhere from the Harley dealer to K-Mart! You'll be able to suit up so that EVERYTHING matches from your sucks to your helmet.
Monday, April 12, 2010


Thursday, August 27, 2009
Harley to sell in India
Harley-Davidson to sell motorcycles in India
NEW YORK — Harley-Davidson Inc. said Thursday it will begin selling motorcycles next year in India, the world's second-largest motorcycle market, where the company hopes its iconic, heavyweight bikes will find a niche among the country's rising middle class.
The Milwaukee-based company said it has established a subsidiary near Delhi and has begun scouting the country for dealers.
"Given the rapid development of India's economy and physical infrastructure, this is exactly the right time to bring the world's greatest motorcycles to one of the world's largest motorcycling nations," said Mark Levatich, Harley's chief operating officer, in a statement.
India is the world's largest market for motorcycles behind China, but it is overwhelmingly dominated by smaller, inexpensive bikes used primarily for transportation, said Dilip Chenoy, director general of the Society of Indian Automobile Manufacturers.
Still, Harley said the country's growing economy, rising middle class and expanded highway construction has created a market for leisure motorcycle riders.
"Motorbikes, scooters in India are family commuting bikes," Chenoy said. "They tend to be more robustly built and the focus is on fuel economy, but there is an increasing market for leisure and high-end bikes which is beginning to happen here in India."
The move marks Harley's latest push into developing markets overseas, where it hopes rising incomes and the company's strong brand identity will spur sales and help offset flagging business at home.
International sales have made up a growing part of Harley's business. In 2008, motorcycle shipments in the U.S. fell 15 percent to 206,000 units while international shipments climbed 9 percent to 97,107.
Shares of Harley-Davidson closed Wednesday at $21.95. The stock has gained 29 percent since the start of the year, as investors begin to see a recovery in demand after a wrenching drop in sales during the U.S. recession.
Copyright © 2009 The Associated Press. All rights reserved.
Monday, August 17, 2009
Rider Perception Test
Take the Rider Perception test from the Motorcycle Safety Foundation (MSF).
http://www.msf-usa.org/riderperception/
http://www.msf-usa.org/riderperception/
Thursday, August 6, 2009
Installing a jet kit on a Kawasaki Vulcan 800.
This process is what I had to do on my 2002 Kawasaki Vulcan Drifter 800. It should be the same for all 800 models from what I can tell. Also, some Harley Davidson bikes use this same carb, or a very similar one from the same manufacturer, so this should help the Harley crowd out as well.
I used a DynoJet jet kit part# 2186. I have a K&N filter and Hard - Krome pipes on the bike. For the most part, any jet kit you get will be done exactly like this.
Your first order of business is to remove the carb from the bike. Sorry I do not have a write up for that but it wasn't that hard.
With the carb off the bike take it to a work bench or table. There will be some springs and smaller parts so don't do it over grass or gravel or something silly where you'd lose a part if it fell to the ground. Or maybe stopping in the middle of your product to crawl around on the ground for an hour looking for a part the size of a needle is your thing?
Now, let the fun begin!
Needle Installation
The first step in removing the needle is to remove the black plastic cover, outlined in yellow in the image. It's held in by 4 phillips head screws. Be sure to use the correct size screwdriver on these. Mine were a little tight and I could see these being a possible disaster is you stripped them.


Remove the spring, shown above, and the vacuum piston, shown below. Inside the vacuum piston there will also be a needle and a plastic needle holder.

This is what you should be left with.

In this picture I've outlined in yellow, the needle, and needle holder. The vacuum piston is the item in the upper right corner of my work mat.

Next you'll take the new needle, spacers, and e-clip, included with the jet kit, and follow the instructions. The new needle will have several grooves cut into the top of it. For my application, it called for an e-clip in the #3 groove with 2 washers resting on top of it.
You can now reassemble the vacuum piston, needle, needle holder and cover. The installation is simply the opposite of removal.

Jet Installation
Now for the installation of the new jet.
First, turn the carb upside down and locate the 4 phillips head screws, circled in yellow below, holding the float bowl on. Remove the screws using the proper screw driver making sure not to strip them.

Once the screws are removed simply remove the float bowl. Below is what the carb will look like with the float bowl removed. I've circled the jet in yellow.
The old jet is easily removed using an open wrench and the new jet is simply screwed right back into the same threads the old one came out of. Some kits come with different size jets so be sure to read the instruction to determine what jet to use. The jet size should be stamped right on the jet.
Put the float bowl back on and secure it with the 4 screws and move onto the next item.

Pilot (Fuel Mixture) Screw Adjustment
The final step to the jet kit install is to adjust your pilot screw. If you skip this step you'll have a very poor running bike.
First, turn the carb upside down and locate the metal mixture screw cap ,circled in yellow in the next two pictures. Once the cap is located drill a hole in it (the jet kit comes with the drill bit). NOTE: STOP DRILLING THE SECOND IT GETS THROUGH THE CAP OR YOU'LL DAMAGE THE MIXTURE SCREW UNDER IT!


The yellow box in the picture below shows the screw in the hole.


Once the cap is off adjust the screw per your instructions.


Ta-da! Your new jet kit is in and all that is left to do is toss the carb back on and enjoy a smooth running bike!
Subscribe to:
Posts (Atom)